One boy accidentally discovered that he could, "make thin lines using thick lines". He was drawing with a ball point pen on white paper atop a drawing mat (which provides a slight cushion). He then turned the paper over and exchanged the pen for a charcoal pencil, experimenting with thick black lines. The charcoal residue began to adhere to the impression of his drawing from the reverse side of the paper. Without a word, he quickly grabbed the black crayon and rubbed the surface of the imprint. He looked at his work amazed and brought it to me. I in turn expressed my interest in his process and he demonstrated his findings to everyone gathered at the table. We were all excited by his discovery and soon several students were independently exploring his technique, with his guidance wherever needed. He was visibly satisfied by this opportunity to share with his classmates.
 Later, I asked another group of students if they could think of some work in their classroom that was really long. We came up with lots of great ideas and then I offered a possible hint, "Is there something long and red in your classroom?". A unanimous chorus of "the red rods" sounded and two eager students hurried off to retrieve the longest red rod and the shortest red rod. (For anyone unfamiliar with either the red rods or the broad stair, they are standard Montessori sensorial materials that isolate length and width respectively).
 After exploring and comparing the longest rod and the shortest rod, I asked if anyone was interested in trying to draw lines that are long or short. It would be an understatement to say that the students were eager. They were positively passionate about these materials which many of them began using more than two years ago. Several students decided to trace the rods and then fill in the long rectangular shape that resulted.
 Another student chose to begin tracing each of the red rods on paper. At one point he called the second red rod "the two rod", with an obvious understanding of the similarity between the red rods and the number rods in his classroom.
This student, pictured below, began by tracing the shortest rod, but quickly progressed to filling in the drawn shape and elongating it into a bat, "a thick line". He then drew "thin lines" to create a baseball. Beneath the image he began carefully and deliberately to draw a scoreboard. This process fascinated him and after some effort, he glanced up and announced, "I'm making a pattern" and he was!
 Another child chose to make one long, rambling line paired with a host of small dots.
 Several students commented on emerging patterns in their work. This student was making a color pattern.
  After a brief conversation with the XP teachers, I discovered that they have been discussing pattern in class and how line can be repetitive. This could be a good studio exploration for another day.


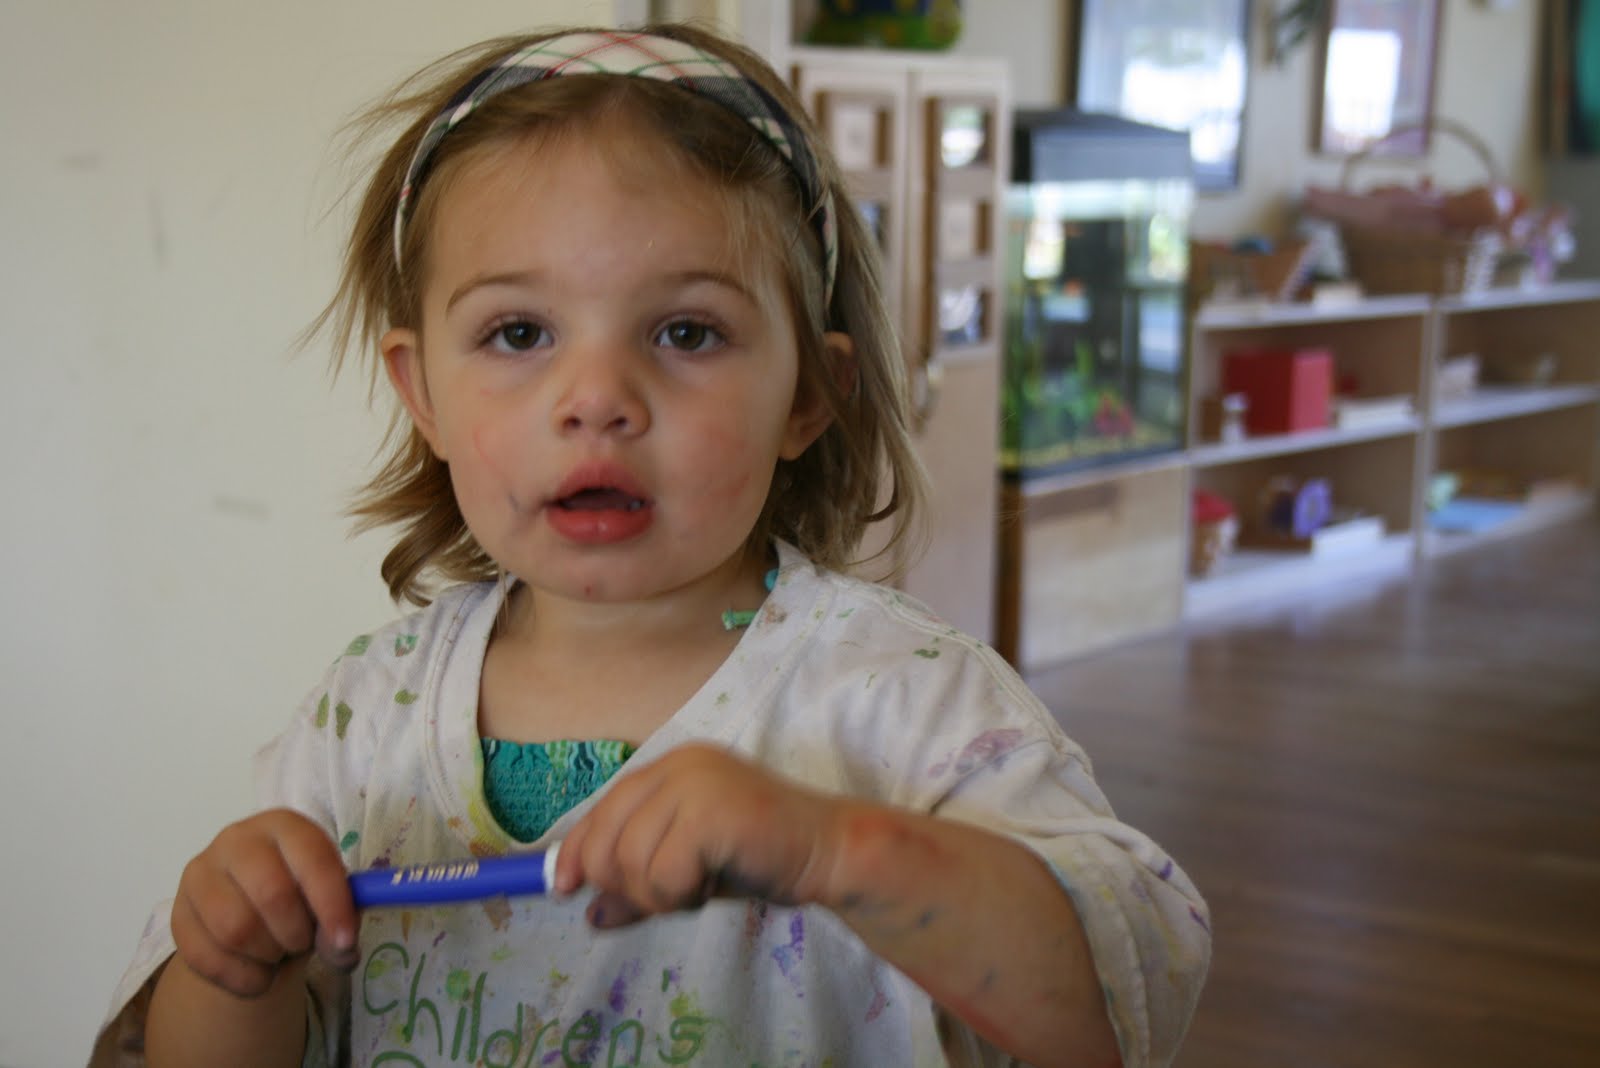


 It was another interesting week in the studio and our exploration of line has generated many interesting conversations and discoveries. Students are often overheard pointing out lines in the environment: the lines of a brick wall, cracks in a sidewalk, veins in a leaf or the rough lines of bark on our pear tree. This ability to really look at their environment with deftness and clarity always astounds me and reminds me of how much I can learn from them. They find beauty and wonder everywhere; in spider webs, roly-poly bugs, decaying fruit and meandering clouds. After some considerations and many conversations with Kathryn, we have decided to evolve our line discussion to include shape. A shape can be made when a line or lines connect. This seems to be the natural "next step" in our exploration.
 Several interesting questions emerged in the first day. "How long can you make a line?", "How small can you make a line?", "Can you make a line into a shape?" and several interesting ideas resulted, "We could call a tree trimmer and make lines on trees.", "We could go outside the school and make lines up and down the sidewalks all around the school", "We could make lines on our fences or in the school." We look forward to pursuing some of these possibilities in the week ahead.
 This student stumbled on positive and negative space and the art of "drawing something without drawing it". She worked for 25 minutes, drawing deliberate lines overlapping one another and creating a dark central "tent" image, while leaving a white space exposed to imply a door. Once this technique was pointed out, several nearby students became interested in "drawing without drawing" and an explosion of dark and light images evolved.
 Lines joined together create shapes. Many students made this discovery and relished in labeling one another's creations, "That is a square, it has four lines", "You drew a circle", "A circle is just one line!" and so on. Some of the older students discovered that lines are used to write letters and numerals, soon the canvas was covered with the symbols best known to each child present.
 On Wednesday afternoon, we had a studio session devoted to the older, full day students. These students were asked to collect natural objects with provocative lines and bring them to the center of our drawing table. They then began drawing lines of interest on 6x6 inch white bristol board. Toward the end of our studio sessions two boys expressed an interest in using a color besides black. I said that we were only using the tools out on the table today (black felt tips, ball points and pencils).


